As his Gladiator miniature begins to take shape, Warlord’s own in-house sculptor reveals suggestions and procedures. Wojtek, it’s your turn…
Returning to my tutorial on sculpting a miniature, this time the Gladiator Myrmillo:
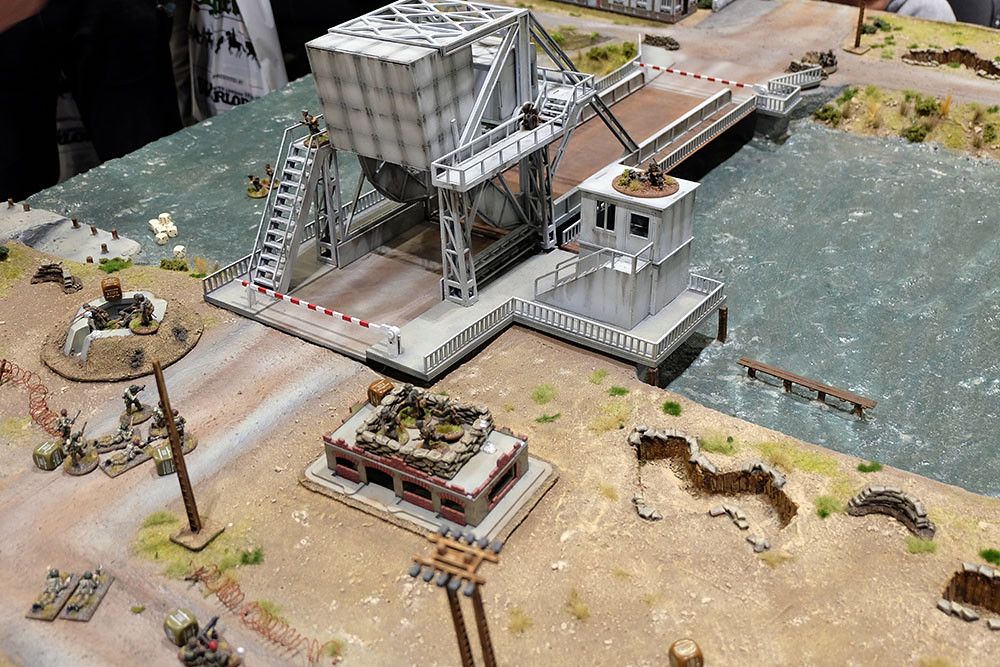
WGH-IR-75-Myrmillo-Gladiator-d
Part one of this series discussed tools of the trade and what you’re going to need to sculpt your own models, while part two covered inspiration and basic armature ‘dollies’ for those who haven’t read it yet. You can read both of these articles here:
Tools of the Trade (Part 1)
Part 2: Armatures and Inspiration
In this instalment, I’ll show you how I construct parts for our Gladiator, such as his helmet and sword. These are parts that I will utilise later in the sculpt, but I find it useful to start them early so that I have something to work on while the modelling putty on other areas of the sculpt dries.
Making a helmet and a sword in Arms & Armour.
I used a 10cm long, 0.6mm thick wire with a minor bend on one end as the foundation for the head/helmet. I added a glob of ProCreate modelling putty to this bent. A straight piece of wire with a length of ProCreate looped around it was used for the gladius shortsword. Don’t worry if the sword appears larger and blobbier than a sword should; this is a good thing because you’ll be whittling it down later! Both were then allowed to completely dry.
I went back to work on the armature dolly I made in the last section of this lesson while both of these components were curing. Later in this article, I’ll show you how I developed with this, but for now, I’d like to draw your attention on the helmet and gladius.
The Gladius is cutting it close
The gladius is ready for extra attention after an hour and a half of drying time. I started by cutting the faces of the sword with a sharp scalpel (it’s always a good idea to maintain your blades sharp – they get dull quickly). Then I smooth off the blade faces with fine-grade wet and dry sandpaper (I use grade 280 paper) and file down the point (it needs to be nice and sharp if our hero is to survive in the arena!). This procedure can take some time, and as previously said, the sword’s bulk will diminish as you progress.
I’ll put the blade aside after I’m happy with how it looks until the hands are finished.
The helmet comes in handy when it comes to saving face.
It’s time to give the blob armature some substance now that it’s dried. The start is a heavier coating of ProCreate. The initial glob of ProCreate is crucial – if you start with a giant blob of putty and try to shape it without it, it will move all over the place. You’ll have a strong basis to build from if you use the dried glob from the first stage as a foundation.
I use the tip of my finger and a little water to keep the putty’s surface as smooth as the steel it’s supposed to mimic. I polish the surface very carefully – not an easy task with such a small space to work with!
The next stage will need some time and care, as well as a steady hand. I started by cutting little holes in one side of the helmet to resemble the mesh faceplate of our Gladiator’s helmet with a sculpting tool with a thin needle-like point (mine is home made from a fine needle). It takes me approximately 30 minutes to do this — there’s no use in rushing because it’s such a prominent part of the model.
The ProCreate is starting to dry at this point, and although it’s still malleable, I think it’s safe to add the helmet’s rim. It’s good to let the putty dry completely before moving on to the next stage if you’re worried about undoing your hard work on the face plate.
After that, the components are allowed to dry for a few hours.
I build up the crown of the helmet into the correct shape, referring to the study material I obtained in part two of this walk-through and polishing it with my fingertip and a touch of water once more.
Many gladiator helmets were ornamented with crests and insignia, and I wanted to add a modest crest on our man’s as well. I built up the crest, starting with a ProCreate foundation and letting it cure for another hour before thoroughly detailing it. It’s not worth jeopardising all that hard work for the sake of a few minutes of drying time when working with finer details like this! Add a fish’s head to the front of the crest as a finishing touch.
Building Muscle
It was time to resurrect the armature dolly from the previous section of the tutorial. Legs would be inserted this week
The initial stage is to increase the armature’s bulk in order to achieve the fundamental leg shape. I use Sculpting Tool No. 1 (which you can see in the first part of my guide!) before it dries. and sculpt the thighs of the gladiator I also used ProCreate as a base for his tunic because I wanted it to flow as he lunges in the final model
It was time to get dug into the shin guards after leaving the armature for nearly an hour under a heat lamp.
I used a 50/50 mixture of ProCreate to achieve the hefty look of a leather-wrapped boot. I started ‘cutting’ in the strapping using Sculpting Tool No 2 once this ‘huge boot’ was in place (yep, you guessed it – you’ll need to check out the first part of my guide!). This is a difficult task that can take a long time to complete. Getting it done and looking good, on the other hand, is a highly pleasant step in the model!
The model’s left leg is remarkably similar to the one I’d just finished, but with the addition of a metal shin protection, I decided to leave the front of the ‘boot’ flat.
Once that was dried, I used more ProCreate to build out the shin guard, and once that was dry, I added some scrollwork details. I recommend that you experiment with these minor details. You’re unlikely to be completely satisfied with your first few attempts, but the only way to learn is to try.
Before I wrap up this instalment of our Gladiator’s origins, a final word from me: don’t get discouraged if things don’t go as planned on the first try, and as with most things related to sculpting, practise, practise, practise!